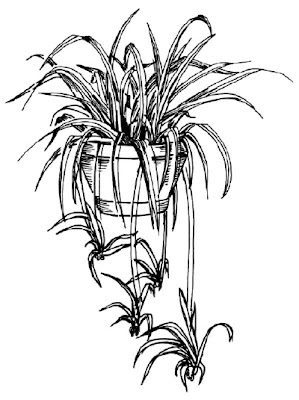
A spider plant is one of the most popular houseplants in the world. They are very easy to grow and they are admired for their ornamental features and excellent filtering ability.
In this section, we'll show you how to draw the above spider plant. You can draw this plant freehand while looking at your computer monitor or print out this page to get a closer look at each step.
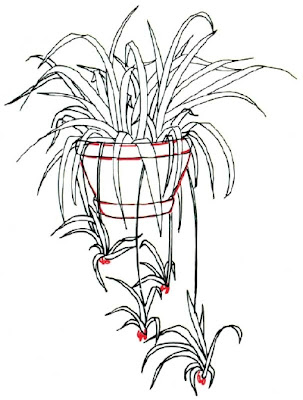
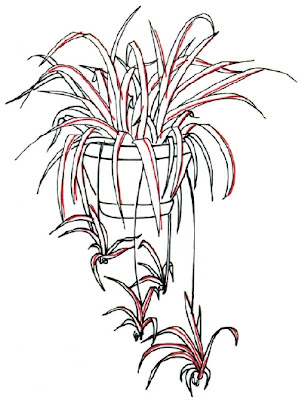
Follow the red lines in each illustration to learn exactly what to draw in that step. The lines drawn in previous steps are shown in gray. Here, we'll show you an illustration of each step and then give you a description of how to draw it.
1. Outline the Plant
Lightly sketch the plant pot. First sketch a gently curving, four-sided shape for the rim. Underneath it, sketch a similar but shorter shape for the saucer. Connect the two with gently curving lines for the sides of the pot.
Sketch in many long, narrow, curving leaves. Have some of the leaves curving over the edge of the pot. Show that some leaves are behind others.
Do this by interrupting the lines for some leaves where they meet the lines for the front leaves. Sketch in three long, curving stems that come down below the bottom of the pot.
2. More Leaves
Fill in the plant with more leaves around and behind the ones you have drawn. At the end of the stem lines, draw more long, narrow leaves for the baby plants.
Add the second side to each of the stems. Add a fourth stem at the bottom of the pot. Give it long, narrow leaves that go behind the stem next to it.
3. Pot and Roots
Redraw the pot, interrupting the lines of the pot where the leaves cover it. Draw tiny oval roots at the bottom of each of the babies.
4. Veins
Draw a center vein in most of the leaves with a long line that follows the curve of the leaf.
5. Details and Shading
Shade the undersides of the leaves with lines that follow the curve of the leaf. Darken the leaves close to the pot with many short lines. Shade the sides of the pot with short, curving lines.
That was a tough one, but the spider plant is quite detailed, so give yourself a pat on the back. In the next section, learn how to draw an orchid.


